


Tai Strietman details each of the steps required to aquascape his beautiful blackwater, biotope aquarium. Inspired by a small stream of the Taquari River basin in Mato Grosso do Sul.
Visiting black neon tetra habitat
In the Taquari River basin, in the north of the state of Mato Grosso do Sul, Brazil, a region I have explored a number of times, is a small stream which is home to black neon tetras (Hyphessobrycon herbertaxelrodi). My expeditions to that magical place were made possible by the efforts of my friends Heriberto Gimenes Junior and Fernando Carvalho, Brazilian ichthyologists who have played crucial roles in my own professional development. It is this spot that the inspiration for this aquarium came from.

Choosing a tank suitable for a biotope
I have long wanted to create a biotope aquarium display representing that habitat but had always planned to do it in a small tank. However, while visiting my friend, James Sampson’s at Maidenhead Aquatics Woodbridge, I was lucky enough to talk him into donating a rather large tank in the form of an Aquamarin Planta 1200, with a ‘Mekong’ colour-option cabinet. The tank was rather fine and came with a ‘foggy’ back panel but sadly, the aquarium had been chipped in a top corner (we suspect by a customer carrying something heavy through the store). This meant it was offered on discount, and I selfishly used our years of friendship to convince James to let me have the tank for features. To be fair, he was most generous, and it didn’t take much convincing!
This is shortened version of an article featured in the December 2024 issue of the magazine which you can buy here!
Aquascape step by step
Now I had an aquarium, it was time for the fun bit… the tank build!

Step 1: The tank is cleaned and prepped before I began as I always like to start with clean glass when taking photos of the build process. I then installed the lights, which were some old LED lamps I had in a box in the garage, and light screen from The Lightground which will brighten the display and amplify the effect of the tannins I will add later.
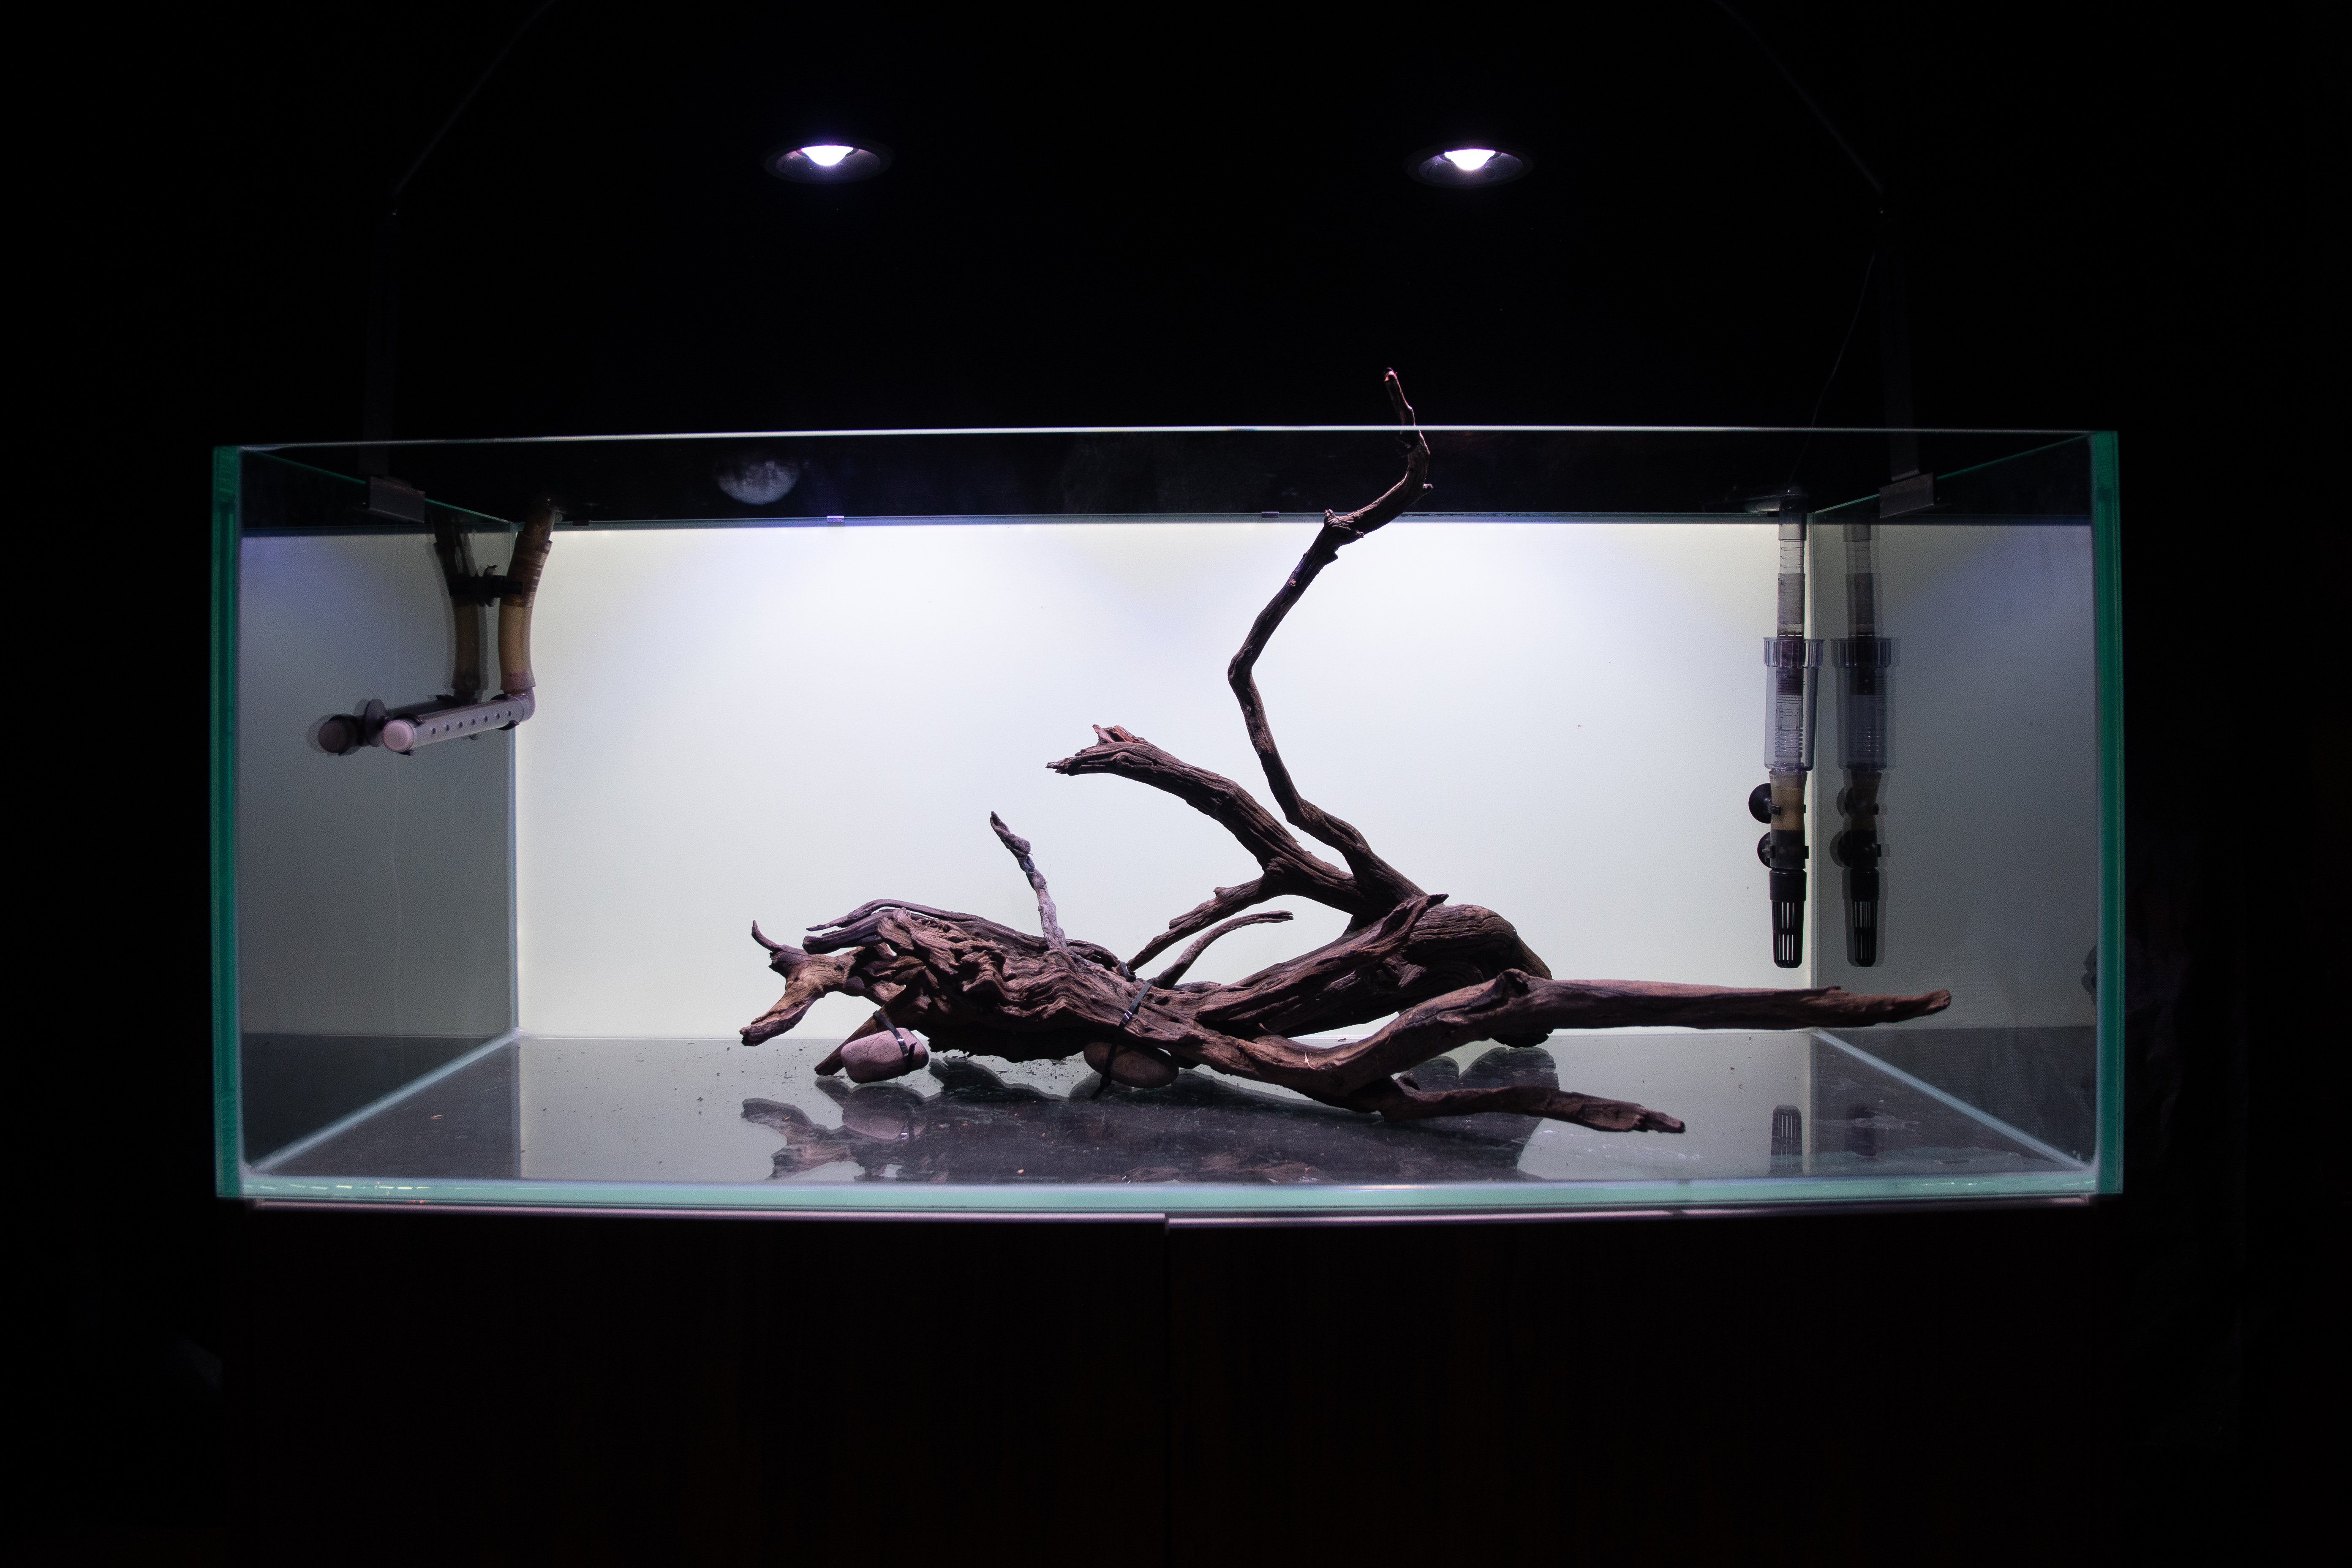
Step 2: The pieces of wood are added first so that any substrate is banked up against it giving the illusion the wood has been in this location for a long time. I cable tied these to some stones as I did not presoak the wood before use and could not risk the display being destroyed by them floating to the surface.
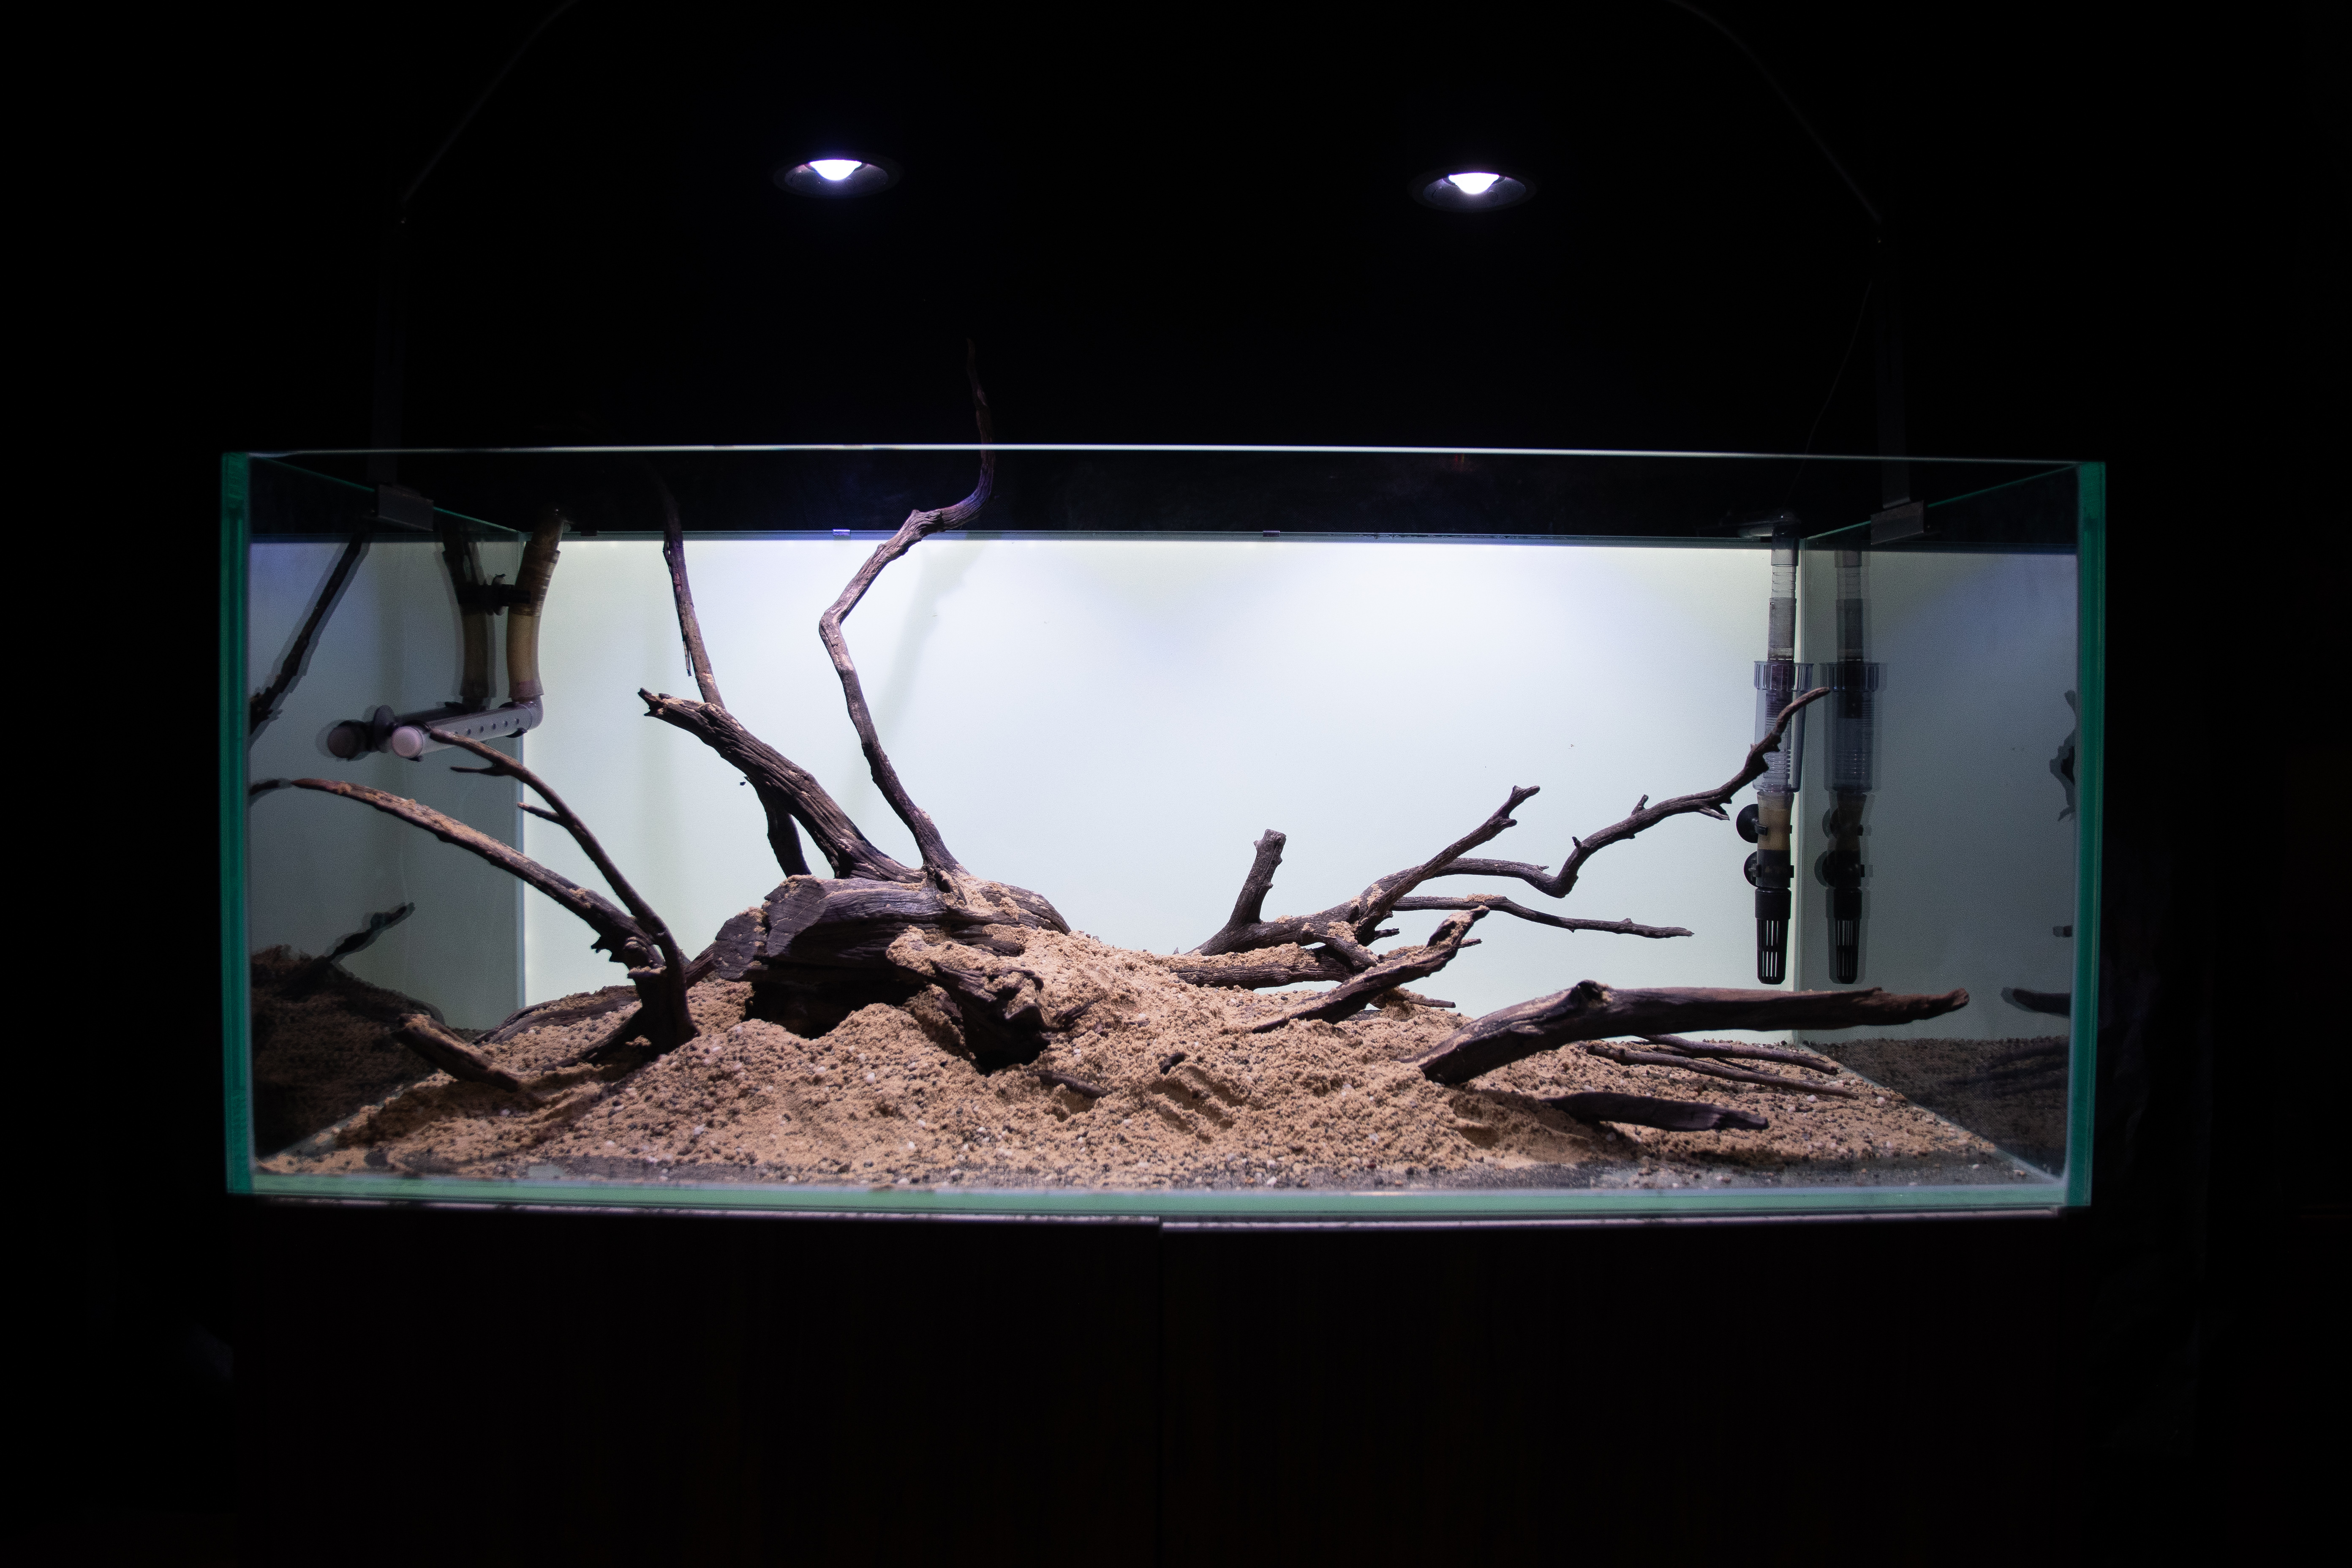
Step 3: To ensure the aquatic plants had plenty of nutrients around their roots a deep layer of Colombo Nutribase was poured around the wood. This will support healthy plant growth and was kindly donated by Dave Pierce of Aquarium Gardens for this project.

Step 4: A layer of aquarium sand is used to cover the Nutribase substrate as it needs to be capped off for use. I chose this colour sand as it replicated the substrate of the habitat in question the best.

Step 5: I placed a Philodendron sp., which was a cutting from my friend, Ed Tanner’s mother plant that he sourced back in 1973, at the back, wedging its root ball among the wood. Wires and string were used to secure the plant above the tank as this ‘cutting’ was then about 3 metres tall and needed support!

Step 6: Around the central Philodendron I cable tied some Epipremnum amplissimum. This was given to me by Pete Cookson of Riverwood Aquatics and is a descendent of a cutting taken from the home aquarium of aquascaping legend Takashi Amano. While neither of these plant species are biotope correct, they both look like species found in this habitat which are far more difficult to source.

Step 7: I then planted the specimens of Helanthium angustifolia, spaced well apart and predominantly in the deeper areas of Nutribase. They could eventually form a dense carpet of 10-30cm tall leaves.

Step 8: The tank is filled with dechlorinated water. But as some of the fish are accomplished jumpers, I did not fill the tank completely full to reduce the risk of finding them on the floor. Botanicals where also added at this stage which were kindly donated by BlackwaterUK and Aquarium Gardens.
Related article: Learn about utilising botanicals in aquariums.

Step 9: Tannin-stained water from stewing the botanicals is added to give the aquarium a more finished look. As this is a concentrated solution of anything that was in or on the leaves you must do this with caution.
Step 10: A mature Oase Biomaster Thermo 850 external filter is then installed and turned on with the heater set to 20°C. The tank is left to settle for at least a week before fishes are added some of which were kindly donated by Jo at Ely aquatics and reptiles. In this time even more tannins leached out of the botanicals and stained the water a darker colour.

The warm ambience of the display, combined with the shadows and the vivid greens of the broad-leaved emergent plants really worked to generate the ‘forest stream’ environment I had been aiming for. Sitting in a chair in front of the tank, I lost myself in the hours I spent gazing at the display, while part of my mind journeyed back to the tannin-stained streams amongst the gloom of the Brazilian forest where I had spent many more hours exploring.
As with so much in my fishkeeping life, both as a hobbyist and a professional, this display would not have been possible without the help, support, advice, and kind generosity of friends. James, Jo, Pete, Dave, Heriberto, and Fernando have all played their part. I wouldn’t be the aquarist, the fishkeeper, the writer or explorer I am today without the contributions of such people and many others like them.

This is an extract from a longer article by Tai Strietman which first appeared in the December 2024 issue of Practical Fishkeeping magazine. It may not be reproduced without written permission.