When you leave a shop with a new fish tank it’s hard to remember all the information and tips offered to you by the assistant. Or you may have purchased your tank on-line and had very little advice. So you can re-cap here, or fill in the missing gaps.

The first point is to position the aquarium correctly. This means sighting it away from anything that may influence the temperature (inc. radiators, vents, draughty areas etc.), noisy objects (such as audio speakers and slamming doors) and regular movement or things that may hit the tank (like a busy doorway).
Avoiding direct day light is also something to consider. It will encourage unsightly algae growth but this can be avoided by leaving effective blinds or curtains closed.

What is the tank going on? If you’ve purchased a matching aquarium stand/cabinet then most brands will happily guarantee your set-up. If it’s going on a worksurface or a TV cabinet, you may find the aquarium isn’t guaranteed in case it cracks. The surface must always be dead flat and clean.
A flat based tank will need to sit on cushioning such as a foam pad or piece of polystyrene. If it has a rim around the base (a floating base) then this is unnecessary.
Once in place, do the cables reach to plug sockets? If not, an extension lead can be used but don’t place it where it might get splashed. Also, incorporate ‘drip loops’ so water drops can’t find their way to the socket.
The first part of the layout is to know where your filter is going. Whether your filter is in the tank or an external type the best position, for filter or pipework, is the least visible corner (as long as it’s accessible). With an external filter, fit it now.

Substrate is the first thing to go in. Gravel or sand will need rinsing. With gravel, a stern net or sieve is an ideal tool to hold the gravel under running water until it runs clear. A very fine net can be used with sand or you can put it in a bucket and gently stir it while water overflows. If you have decided on a plant feeding substrate then generally no cleaning is necessary.
Put an internal filter in position now and If using a heater, place that too, noting the manufacturers guidelines for orientation.
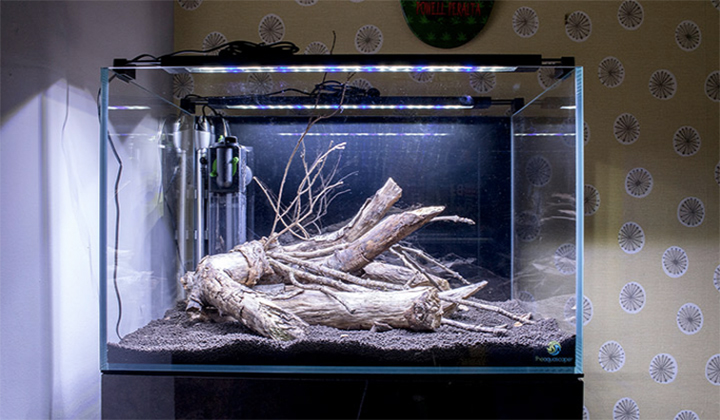
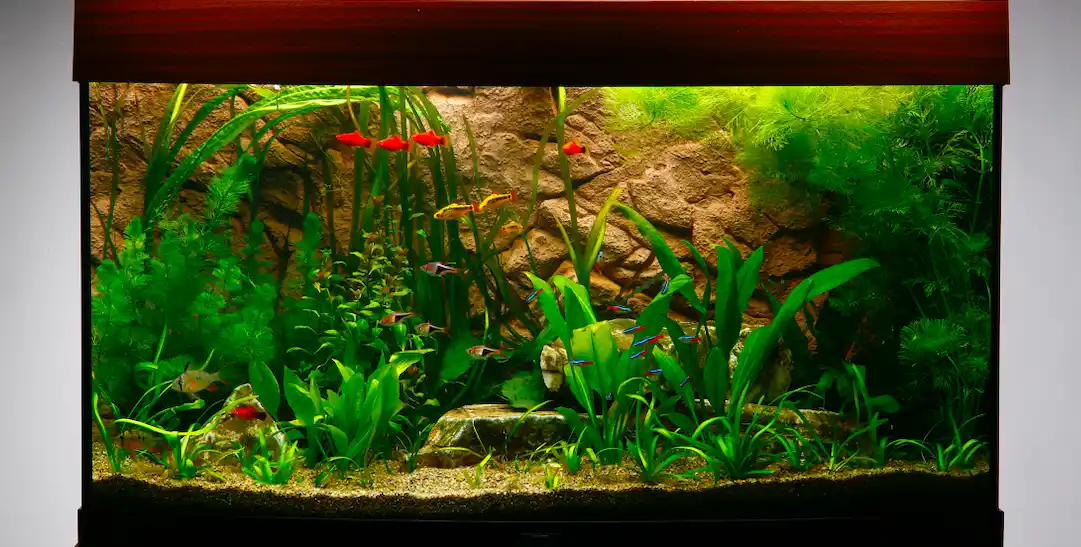
Now you can start positioning wood and rocks (hardscape) or ornaments. Wood is likely to need soaking until it sinks before use but to know where it’s going is helpful. Now is the opportunity to hide the heater slightly. Any light displayed needs to be visible but you can use your layout to conceal your heater somewhat. You may want to move some of the substrate once considering the layout, maybe ramped-up toward ornaments etc.
When filling the aquarium with water it’s best to lay a clean polyethene bag over the bottom and fill on to this. This is to avoid stirring-up the substrate and displacing it. The initial fill can be untreated and treated in the tank, with water conditioner, once full.

If you’ve bought live plants, pause with the filling around half way and plant them. Baskets and growing media or weights should be removed as well as any damaged leaves.
Check that none of the plugs, sockets etc have been splashed, and double check the heater is in the water before flicking the switches on.
Adjust the position of the filter or pipework so as to make a strong ripple on the surface. Once up to temperature you can adjust the heater if needed, using the thermometer to monitor the water temperature.
Now you’re up and running. Don’t worry that the water is clouded-up, it will likely be clear in the morning. There will be a few weeks until you get fish in there, but it’ll be worth the wait!